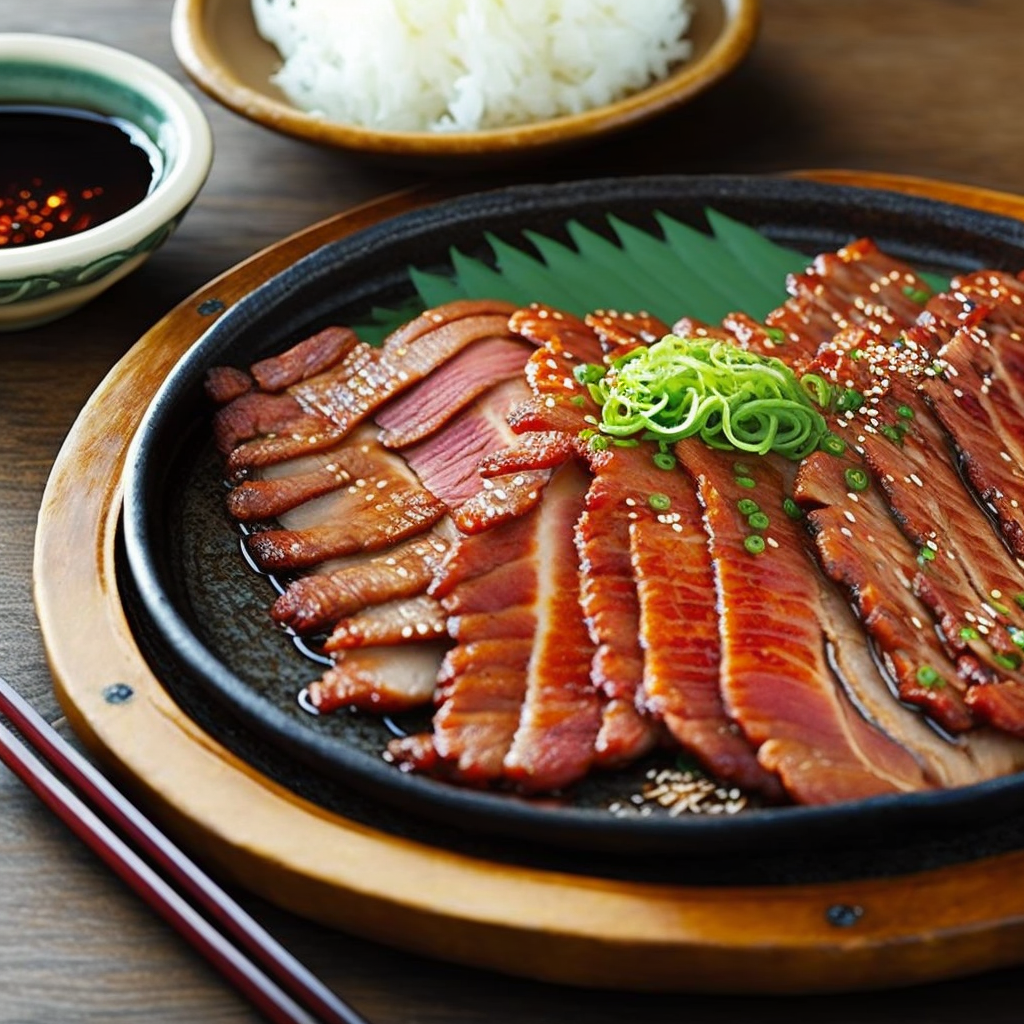
When it comes to Korean barbecue, one dish that often gets overlooked is pork capicola. Also known as "daeji kkot sal," this thinly sliced pork collar is marinated in a sweet and savory sauce and grilled to perfection. But before you fire up the grill, there are a few things you should know to ensure the best results.
First, make sure you're using the right cut of meat. Pork capicola is typically made from the pork collar, which is located near the shoulder blade. This cut is leaner than other pork cuts, but still has plenty of flavour.
Next, marinate the meat for at least 24 hours. A traditional marinade for pork capicola includes soy sauce, brown sugar, garlic, and Korean pear juice. The marinade not only adds flavor, but also helps to tenderize the meat.
When it comes time to grill, make sure the grill is hot and the meat is cooked to an internal temperature of 145°F. The meat should be grilled for about 2-3 minutes per side, depending on the thickness of the slices.
Finally, don't forget to pair your pork capicola with the right sides. The smoky flavor of the grilled meat pairs well with a refreshing kimchi salad, steamed rice, and a cold beer.
One tip to keep in mind when cooking Korean Pork Capicola is to slice the meat thinly. This will make sure that it cooks quickly and evenly and you'll have a juicy and flavorful pork capicola in no time.
And last but not least, when it comes to enjoying your pork capicola, always make sure to eat with a side of "ssamjang" - a traditional Korean dipping sauce made of soybean paste, red pepper paste, and other flavorful ingredients.
In conclusion, with a little bit of preparation, you can create a restaurant-worthy Korean barbecue experience right in your own backyard. And best of all, you don't have to worry about making a reservation or waiting in line!
Don't want to go through the trouble? The tasty capicola is actually part of our Korean BBQ box. Get it now!